Opencart Admin Buyer Chat module establishes a real-time direct communication between admin and the buyers. This chat module is socket based hence is very fast and responsive. Admin can chat with multiple buyers at the same time.This module will help the customers in a significant manner allowing them to directly chat with the store admin for their queries.
Features
- This chat module is socket based and is very fast and responsive on the server.
- Template based using handlebar.js.
- Multiple chat instances at the same time for admin chat window interface.
- Admin can customize the customer’s chat window.
- Customers can set avatar, chat status as busy, offline.
- Customers get an automated mail after registration with their password.
- A message notification icon pop up to lets you know that chat is still active.
- Admin can remove the chat conversations for any buyer history at any time.
- Admin can block/unblock a customer from chatting.
- Admin can search a customer by typing his name within the search box provided on the top of his chat-box.
Installation And Configuration Of Admin Buyer Chat
Prerequisites –
1. Node should be installed.
2. PHP version should be 5.5.x.
3. Port that you are using, should be open for your IP Address.
4. The module will only work for LAMP server.
Note 1 : Before start the server you have to write the port that you are using for chat module into server.js file that is parallel to opencart’s root directories.
Note 2 : If you are using cpanel then you can use either domain name or IP address but if using CloudFlare on server then must use IP address as hostname don’t use domain name.
Customers will get a zip folder for installing the module. They will unzip this folder on their system. This folder has 5 folders namely- admin, catalog, image, ocmod, system and files- Info, package.json, running.php and server.js. Now transfer the admin, catalog, image, system folder and all other files into the opencart root folder without the ocmod folder as shown below in the screen shot.

Now Before installing the module and starting the server, open the server.js file in the Opencart root folder and manually type the port number into the server.js file that you will be using for the chat module.
After this you have to run some commands :
-> to install node run command from terminal:
$ npm install
-> to install socket.io run command from terminal:
$ npm install socket.io
Ocmod folder has two xml files for the two versions 2.1 & 2.2 namely- store_chat2.1.ocmod and store_chat_2.2.ocmod. You need to upload the XML file as per your version through the Extension Installer.

Now go to Extension->Modifications and click-in on the clear button at the top right corner & after clear the cache click on refresh button as shown below.

After that under Extensions -> Modules you can install the module as shown below.
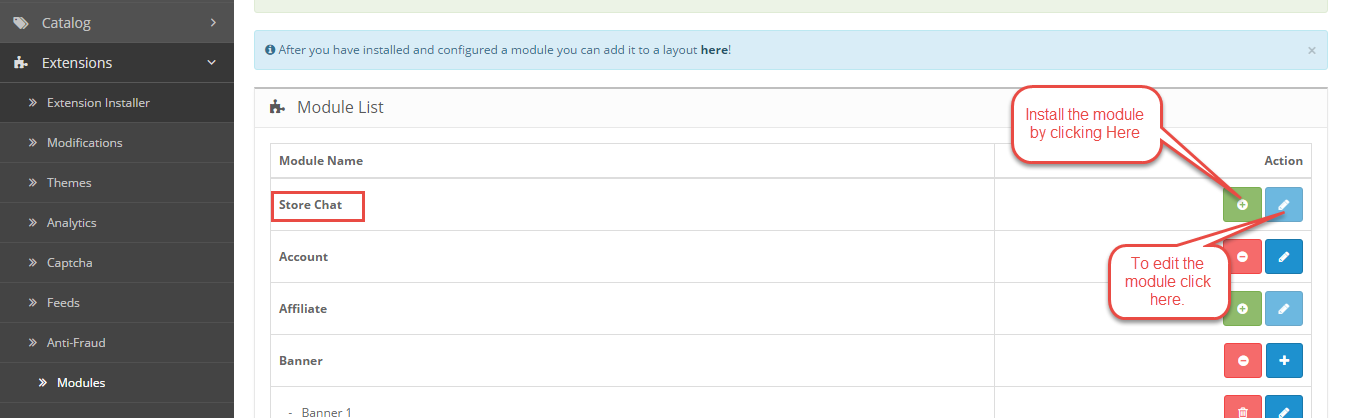
Admin Configuration
Admin will configure the module after installation by navigating to Extensions->Modules and from the list of modules look for ->STORE CHAT. After that admin will click-in the edit option available to the right of the module to bring up another page with settings for the module as shown below.
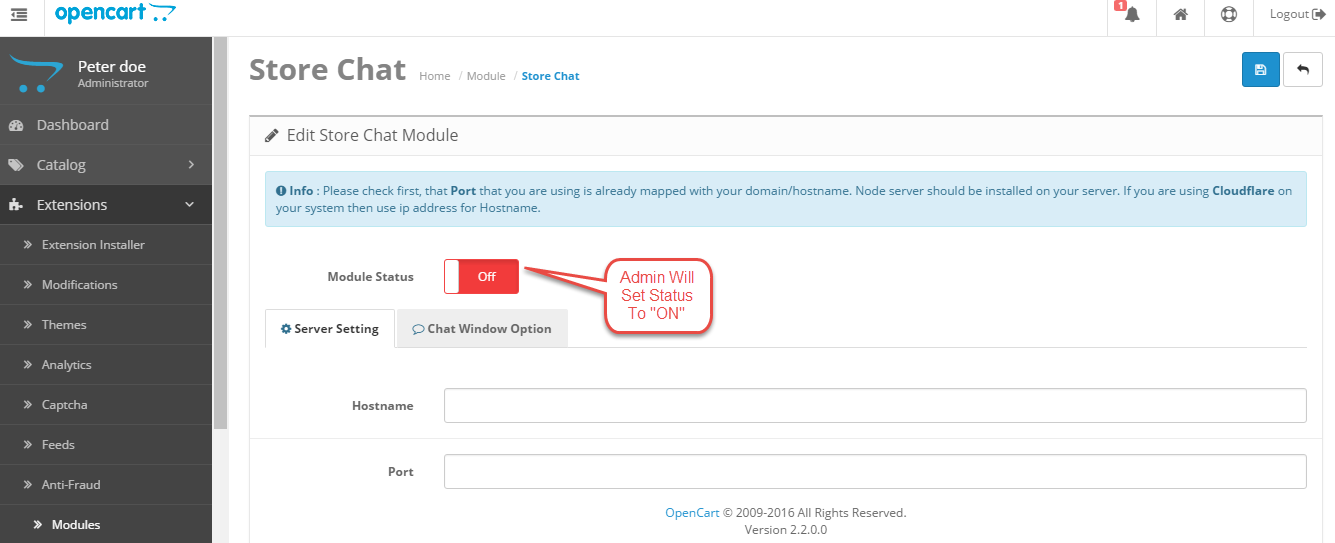
Here the admin can set the chat module status as “ON” or “OFF”. Then Hostname will be the server name and Port need to be defined. Port no must be mapped with the hostname that you are using. Port number should be same as already defined. If you are using Cloudflare on your system then using “IP” address for Hostname is mandatory.

Admin will now start the server by clicking on the “Start” button. If the server is not running then admin will get an error message like this “ Currently Server is not running, You can restart the server and again start the server by clicking on start server button.”
After this setting admin will set the “Chat Window Options” that will be displayed on the front end . Here he will set the chat window title, Login Button title, chat window position,Profile image extensions,Profile image size, client online/offline window color, chat background image/color , “display block message” is used to display a message if the store blocks a customer, “default error message” this message will display to customer if the server will stop.

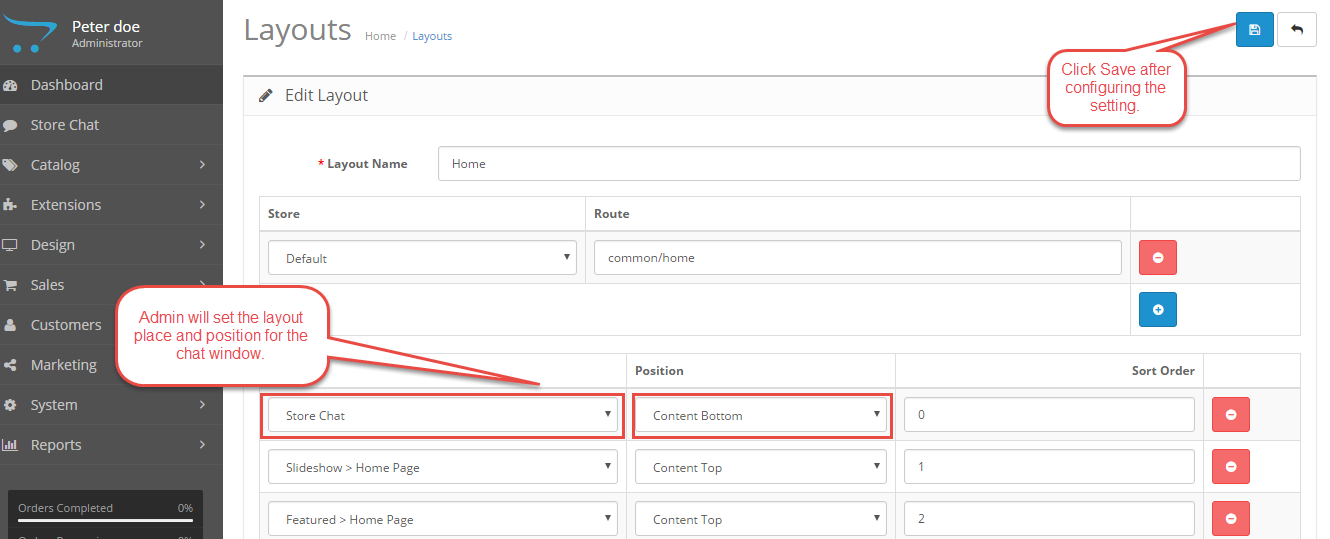
Admin will now navigate through Design->Layout->Home and click the edit button to set layout for the chat window on front end as shown below.

After click-in on the edit button, layout window will open up, here the admin will set the layout position for the chat window as shown below.
WORKING OF THE ADMIN BUYER CHAT MODULE
After module installation customers can go to the store page and will see a chat box, using which both the Opencart customers and chat customers can chat with the store admin.
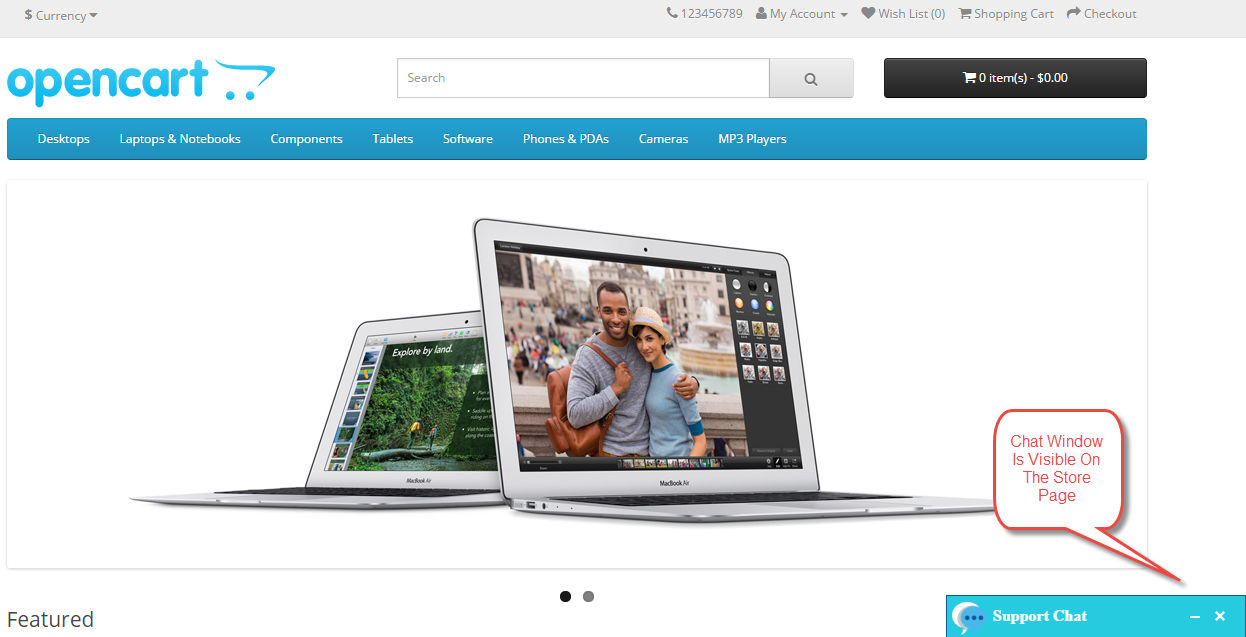
After click-in on the chat window it will appear as below.
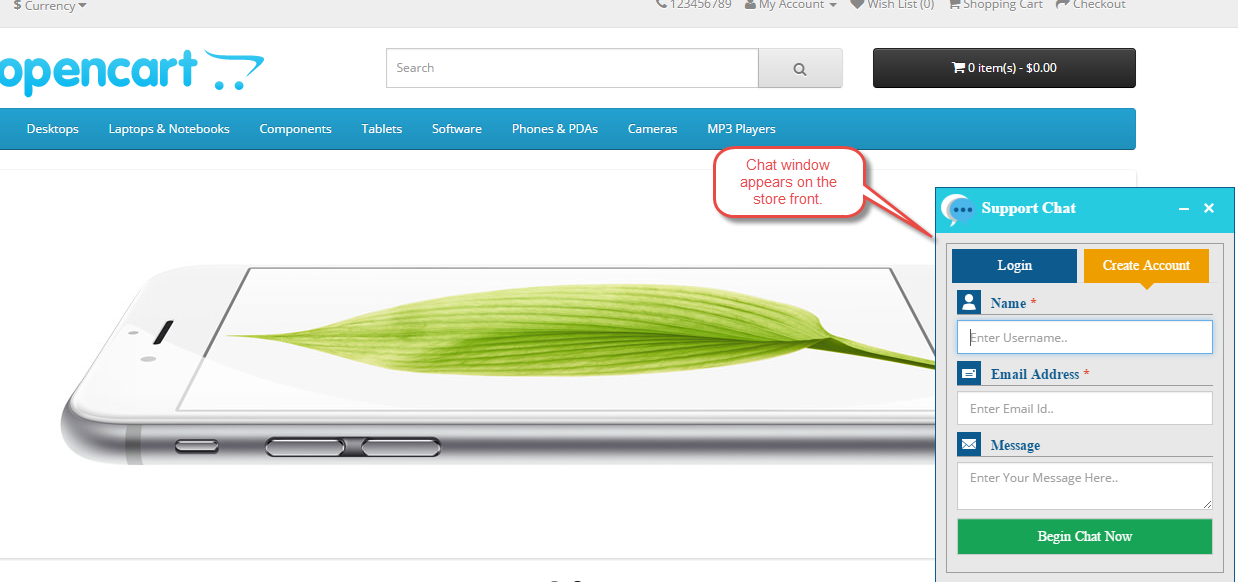
Opencart customers can start chatting by clicking on the “Login Button” and providing their email address and the password, while the chat customers can register themselves by clicking on the “Create Account” button on the chat window and providing their full name and email address. For the chat customers when they create an account to chat with the admin they are automatically logged in & registered as Opencart customers in the store. Also an automatic email is send on the chat customer email address containing the password for his account.

After that the customer will be logged in and can wait for the admin’s response and then both can continue their real time chat conversation.

Opencart customers can set their chat window status as busy or offline as per their need as shown below.
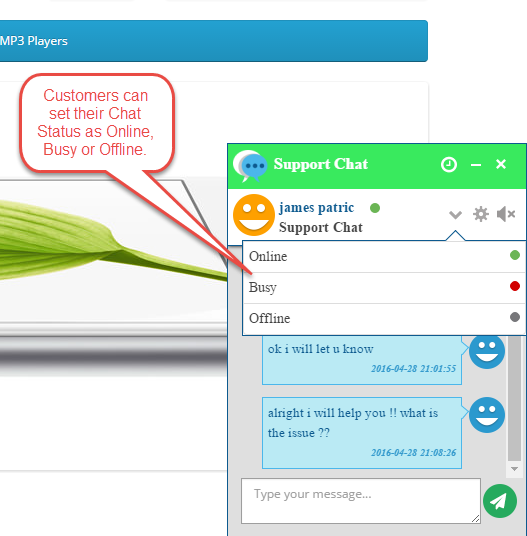
In the case a customer has set the status as offline, if the admin sends a message to the customer, admin will see a message stating the receiver is Offline as shown below.

Customers can change the settings on the chat window for – Email Transcripts, Report to Manager, End Chat and Profile settings.

Customers at any time send their chat history in the form of email transcript as shown below.

Customers can report to Manager if they are facing any issue with the chat or any other issue.

Customers can end their chat at any moment by clicking the End Chat option.
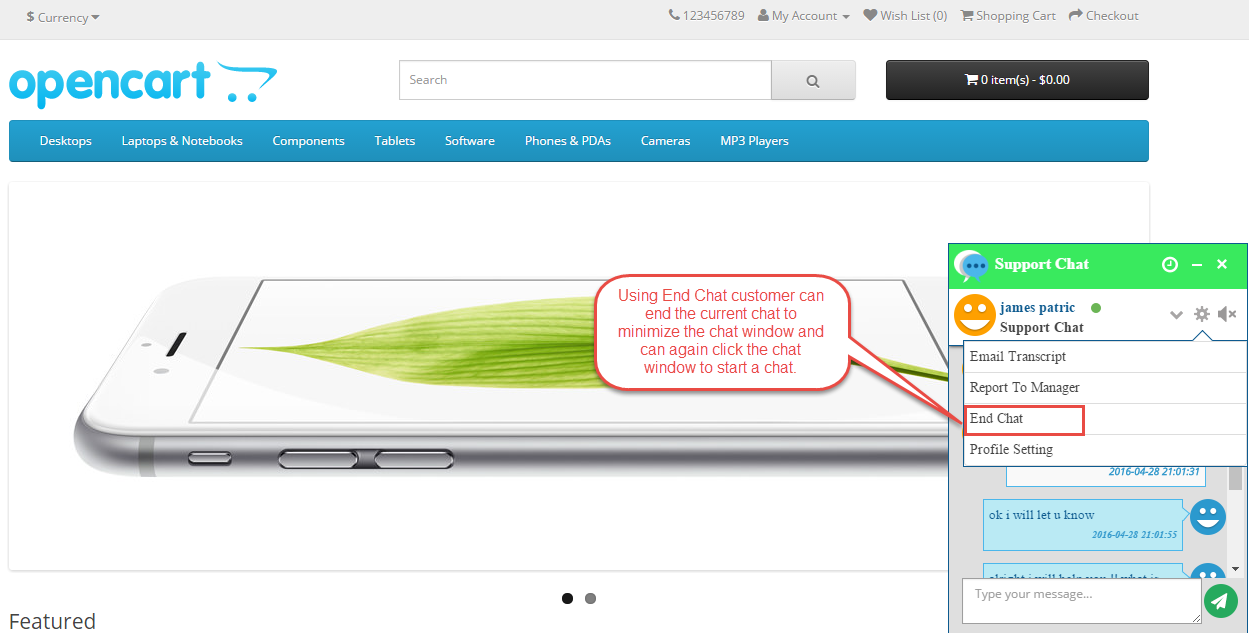
Clicking the End chat window will minimize the chat window so that if the customer wants to start chat again he can click-in on the minimized window to start as shown below.
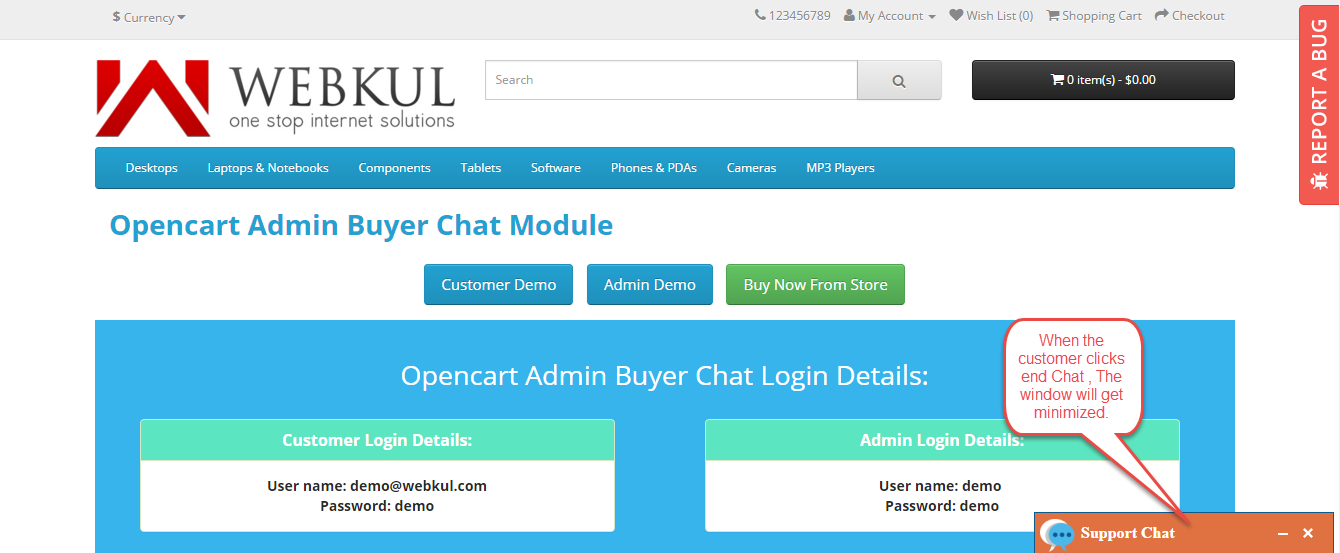
Customer can click on the close button on the minimized window to close the chat window and a small message notification icon will appear in its place, clicking on it will bring the chat window back again as shown below.

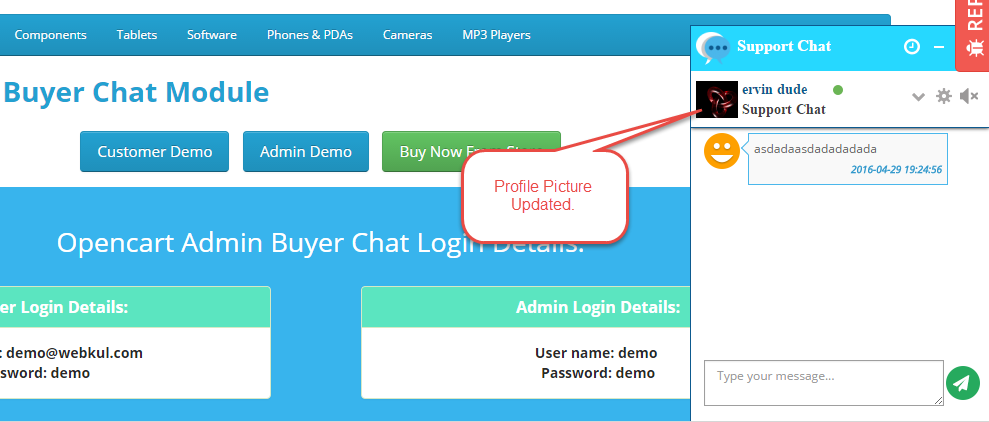
Customers will be able to change their profile picture for the chat window as shown below .

After this the customers can see the new uploaded picture on their chat window as shown below.
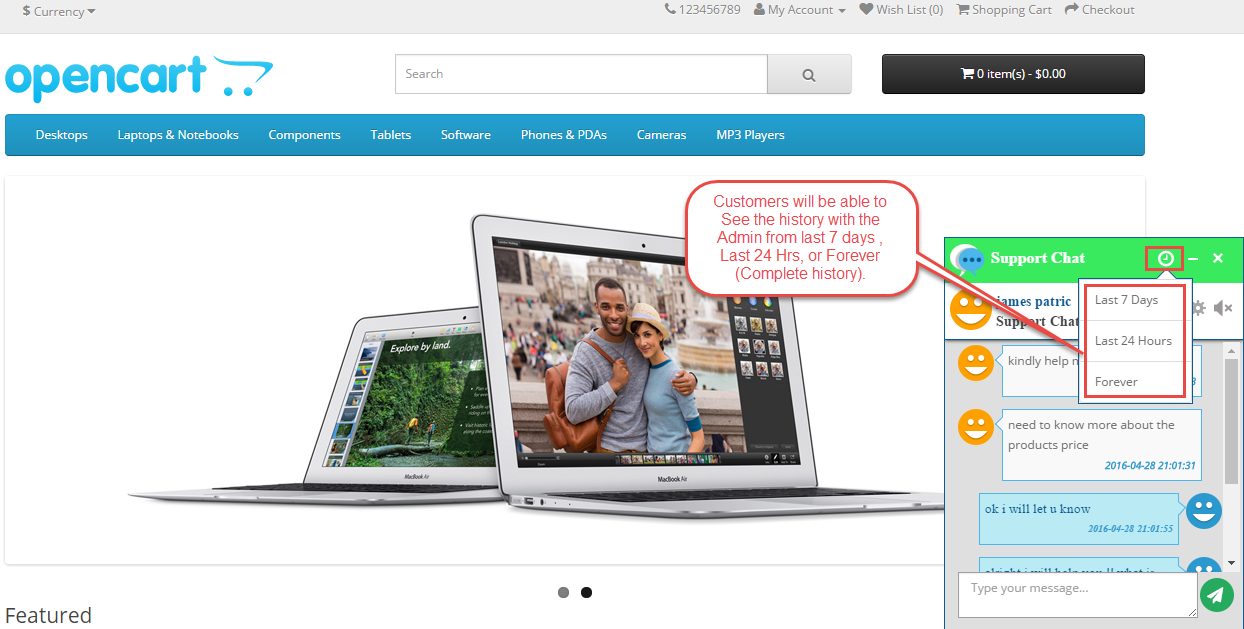
Customers will be able to see the history of conversation with the admin. They can also select to display message from like – Last 7 days or Forever that displays the chat history in the chat window itself.
On the admin end, admin will be able to see a complete list of customers who are online. He will be able to chat with multiple customers at a time. The 3 most recent ones are always displayed and the rest are minimized into a window. Admin can switch between customers from the minimized chat window at any time.

If a notification message comes in it will be shown on the upper right corner on the admin screen as shown below.

Admin can change his online status to busy or offline as shown below.

If admin wants to search a customer he can use the search box provided on the chat window. Using customer name he can search the customer.

Admin can delete the chat history of any customer as shown below in the below screenshot.

Admin will be able to block and unblock any customer at his own will as shown below in the screenshot.

If the admin has blocked a buyer then the buyer will see a display message on his chat window that says “Currently, You are Blocked by Store!!” and a contact us button below that.
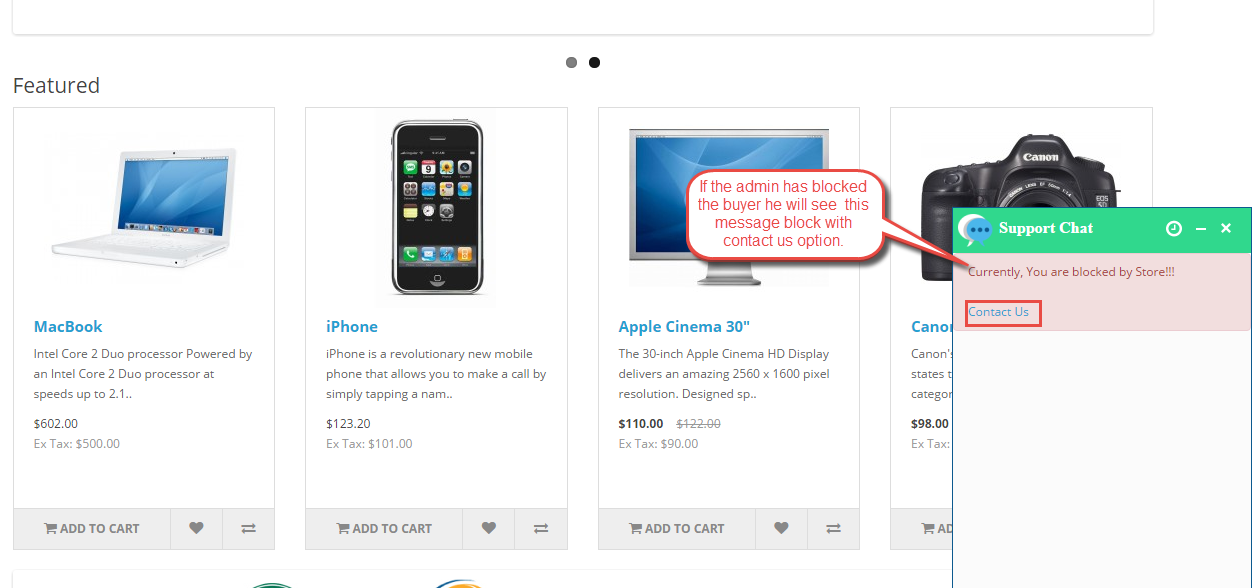
When the admin blocks a buyer an automatic email is sent to the buyer notifying him that he has been blocked for the chat.
That is all for the Opencart Admin Buyer Chat, If you still have any issue feel free to add a Ticket and let us know your views to make the module better http://webkul.uvdesk.com/